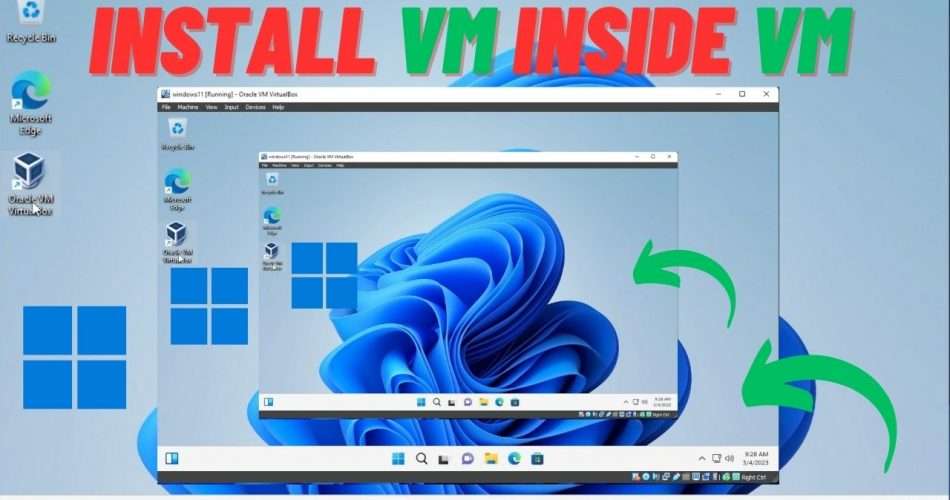
Virtual machines (VMs) have become an essential part of modern computing as they allow us to create multiple isolated operating systems on a single physical machine. However, what if you need to install a virtual machine inside a virtual machine? This scenario may seem unusual, but it can be helpful in several situations, such as testing or development environments. In this blog post, we’ll guide you through the steps required to install a virtual machine inside a virtual machine.
Step 1: Choose a Hypervisor
The first step in installing a virtual machine inside a virtual machine is to choose a hypervisor that supports nested virtualization. Nested virtualization allows a virtual machine to act as a hypervisor and create another virtual machine inside it. Not all hypervisors support this feature, so you need to make sure that the one you choose does.
Some popular hypervisors that support nested virtualization are:
VMware Workstation
VirtualBox
Hyper-V
KVM
Xen
Step 2: Enable Nested Virtualization
After you’ve installed your chosen hypervisor, you need to enable nested virtualization. The process of enabling nested virtualization varies depending on the hypervisor you use.
In VMware Workstation, for example, you need to add the following line to the .vmx file of the virtual machine that you want to use as the hypervisor:
vhv.enable = "TRUE"In VirtualBox, you need to open the Command Prompt as an administrator and run the following command:
VBoxManage modifyvm <VM Name> --nested-hw-virt onIn Hyper-V, you need to run the following command in PowerShell:
Set-VMProcessor -VMName <VM Name>-ExposeVirtualizationExtensions $trueStep 3: Create a Virtual Machine
After enabling nested virtualization, you can create a virtual machine inside the hypervisor virtual machine. The process of creating a virtual machine is similar to creating a virtual machine in any other hypervisor.
You need to select the operating system that you want to install, specify the amount of RAM and CPU cores, and allocate storage. You also need to choose the type of virtual machine hardware that you want to use. For example, in VirtualBox, you can choose between Intel or AMD virtual machine hardware.
Step 4: Install the Operating System
After you’ve created the virtual machine, you can install the operating system of your choice. The process of installing an operating system inside a virtual machine is the same as installing an operating system on a physical machine.
You need to boot the virtual machine from the installation media, follow the installation wizard, and configure the operating system settings.
Step 5: Install Virtualization Software
Finally, you need to install the virtualization software inside the virtual machine that you just created. The virtualization software allows you to create another virtual machine inside the virtual machine.
The process of installing virtualization software is the same as installing it on a physical machine. You need to download the software, run the installer, and follow the installation wizard.
Conclusion
In conclusion, installing a virtual machine inside a virtual machine may seem like a complex process, but it’s relatively straightforward if you follow the steps outlined in this blog post. With nested virtualization, you can create multiple isolated environments within a single physical machine, making it an ideal solution for testing and development scenarios.

