
Are you a MacBook user with an Apple M1, M2, or M3 chip, craving to experience Windows 11 without shelling out extra cash? You’re in luck! In this comprehensive guide, we’ll walk you through the process of installing Windows 11 on your MacBook, allowing you to enjoy the best of both worlds. Whether it’s for work, specific software compatibility, or just curiosity, you can seamlessly integrate Windows 11 alongside macOS on your Apple-powered device.
Step 1: Download UTM
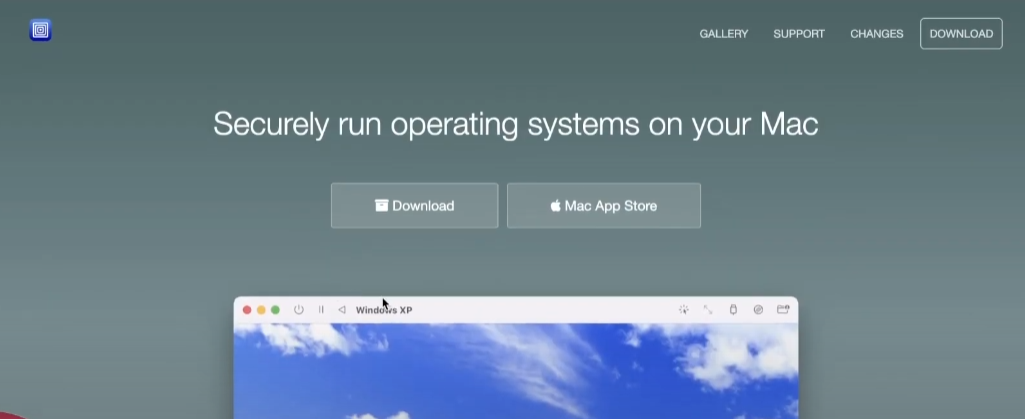
To begin, head over to Google and search for “UTM download”.
UTM (Universal Type of Machine) is a free virtual machine emulator for macOS that supports various operating systems, including Windows. Once on the UTM website, download the application. After downloading, open the DMG file, and drag UTM into your Applications folder for installation.
Step 2: Download Windows 11 ISO
Now, navigate to the UTM Gallery within the application. Scroll down until you find Windows 11, then click on “Guide”. Follow the provided instructions to download Crystal Fetch, a program that facilitates the download of Windows 11 ISO. Crystal Fetch can be obtained from the Apple App Store or GitHub.
Step 3: Use Crystal Fetch to Download Windows 11 ISO
After downloading Crystal Fetch, open it and select Windows 11 as your desired operating system. Choose your preferred language and edition, then initiate the download process. Once the ISO file is downloaded, you’re ready to proceed.

Step 4: Set Up UTM for Windows 11 Installation
Launch UTM and create a new virtual machine by clicking on “Create New Virtual Machine”. Select “Virtualize” and choose “Windows”. Ensure that “Install Windows 10 or higher” is checked and “Import the HD x image” is unchecked. Browse for the Windows 11 ISO file you downloaded earlier and proceed.

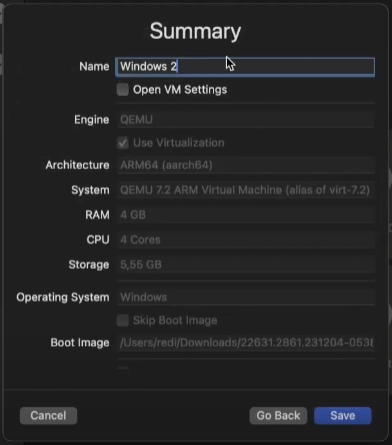
Step 5: Configure Virtual Machine Settings
Configure the virtual machine settings according to your preferences. Allocate sufficient RAM and CPU cores for optimal performance. A recommended configuration is 4GB of RAM and four CPU cores. Choose a suitable disk size, typically around 30GB, and proceed with the installation.
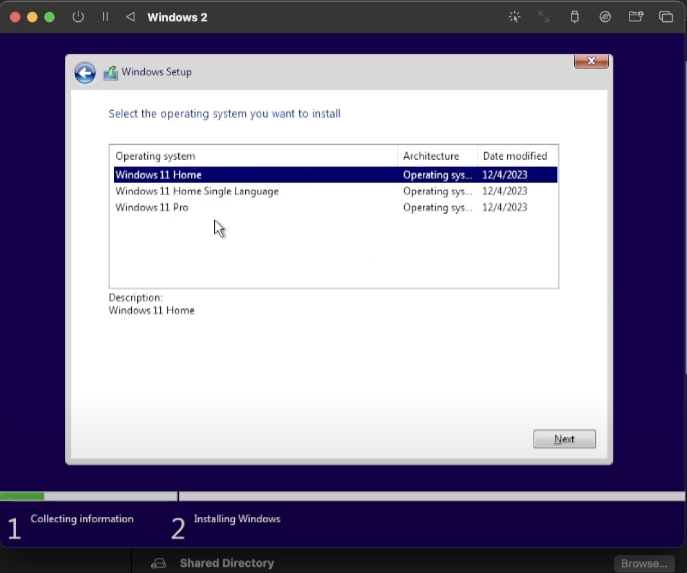
Step 6: Install Windows 11
With the virtual machine settings configured, initiate the installation process by clicking on “Play”. Follow the on-screen instructions to complete the Windows 11 setup, including language selection, product key input (select “I don’t have a product key” if applicable), and edition selection (Home or Pro).
Step 7: Adjust Resolution (Optional)
Upon successful installation, you may notice that the resolution needs adjustment. To rectify this, navigate to the “Files” section within the virtual machine and locate the UTMB guest tools. Run the application as an administrator to adjust the resolution to your liking.
Step 8: Enjoy Windows 11 on Your MacBook
Congratulations! You’ve successfully installed Windows 11 on your MacBook with an Apple M1, M2, or M3 chip. You can now enjoy the features and functionalities of Windows 11 alongside macOS, opening up a world of possibilities for productivity, software compatibility, and exploration.
In conclusion, installing Windows 11 on a MacBook with an Apple chip is a straightforward process thanks to tools like UTM and Crystal Fetch. By following these steps, you can seamlessly integrate Windows 11 into your macOS environment, enhancing your computing experience and versatility.
Follow my youtube video if you have problem: