
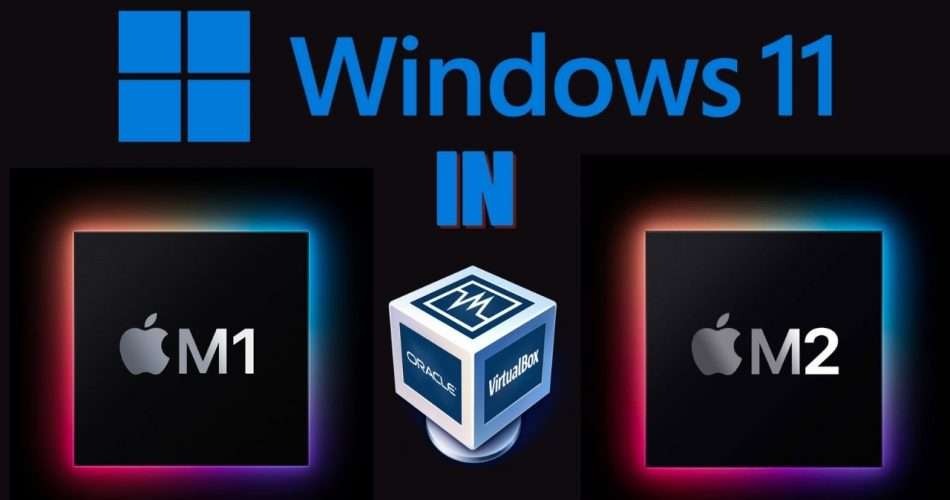
If you’re a Macbook user with an M1/M2 chip and you need to run Windows 11 for any reason, you may think that it’s not possible since Apple no longer supports Boot Camp on M1/M2 Macs. However, you can still install Windows 11 on your Macbook with an M1/M2 chip using VirtualBox, a virtualization software that lets you run different operating systems within a virtual machine.
In this tutorial, we’ll guide you through the steps to install Windows 11 on your Macbook with an M1/M2 chip using VirtualBox. Here’s what you’ll need:
-A Macbook with an M1/M2 chip
-VirtualBox software
-The Windows 11 ISO file
-Additional drivers (for sound, graphics, and network)
Step 1: Download and Install VirtualBox
The first step is to download and install VirtualBox on your Macbook. You can download the latest version from the VirtualBox website. Once you’ve downloaded the software, follow the installation instructions to install VirtualBox on your Macbook.
Step 2: Download the Windows 11 ISO file
Next, you’ll need to download the Windows 11 ISO file from the official Microsoft website. Make sure to download the correct version (32-bit or 64-bit) that matches your system architecture.
Step 3: Create a New Virtual Machine
Open VirtualBox and click on “New” to create a new virtual machine. Give the virtual machine a name and select “Microsoft Windows” as the operating system type. Choose the appropriate version (Windows 11 32-bit or 64-bit) from the drop-down menu and allocate enough RAM and storage for the virtual machine.
Step 4: Install Windows 11 on the Virtual Machine
Now it’s time to install Windows 11 on the virtual machine. Select the virtual machine you just created and click on “Start.” VirtualBox will ask you to select the Windows 11 ISO file you downloaded earlier. Once you’ve selected the ISO file, click on “Start” to begin the installation process.
Follow the on-screen instructions to install Windows 11 on the virtual machine. You’ll need to format the disk and configure the system settings, just like you would when installing Windows 11 on a physical machine.
Step 5: Install Additional Drivers
Once you’ve installed Windows 11 on the virtual machine, you’ll need to install additional drivers to get all your devices and hardware working properly on the Windows 11 virtual machine. These drivers include graphics, sound, and network drivers.
You can download these drivers from the Apple website or other third-party websites that provide drivers for Macbook hardware. Follow the instructions to install the drivers on the virtual machine.
And that’s it! With these simple steps, you can install Windows 11 on your Macbook with an M1/M2 chip using VirtualBox. You can now enjoy the benefits of both operating systems on your Macbook, without having to switch back and forth between two machines.
If you have any problem during this process you can follow my youtube video: https://youtu.be/1BOcED3RFGM