
Hello everyone, in this article, I am going to show you step-by-step how to install and run macOS Big Sur on your windows 11 computer. You can also use this method on windows 10 or windows 8 computers. You can use macOS to run the applications that are not available on windows like Xcode, so you can compile applications for apple. Let’s start…
1. Download and Install VMware
VMware Workstation is software that is used to run different virtual machines on your computer so you can install and run any software on them without impaction the main operating system.
You can download VMWare for free at this link –> https://bit.ly/3uNAcwh
Extract the software zip file and install the exe on your computer.
2. Download the macOS Big Sur ISO file
We will use the ISO file of macOS to install in the virtual machine that we will create in the VMWare. This file is a little too heavy, is about 16Gb and you can download it from this MediaFire link:
Download macOS Big Sur ISO file –> https://bit.ly/3ANl5GP
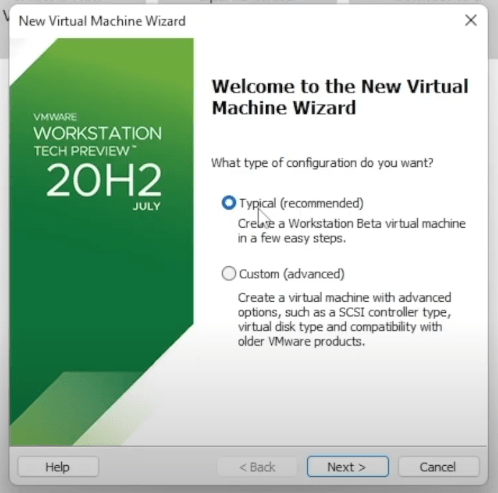
3. Create a new virtual machine on VMware
Now you have to open the VMware program and you have to create a new virtual machine and I will show with photo which options you have to choose on each step.
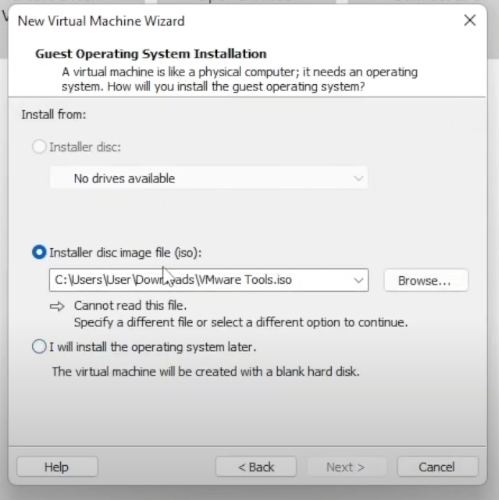
After this, you have to choose the second option “installer disc image file” and on the right side, you have to click browse. Then you have to choose the ISO file that we downloaded from the second step.
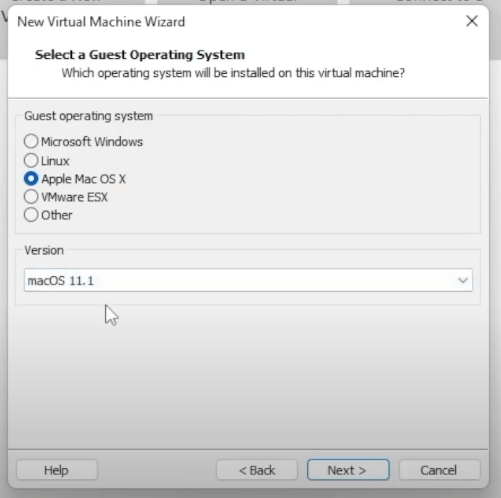
Here make sure to check the Apple Mac OS X option and in the version, you have to choose macOS 11.1 version.
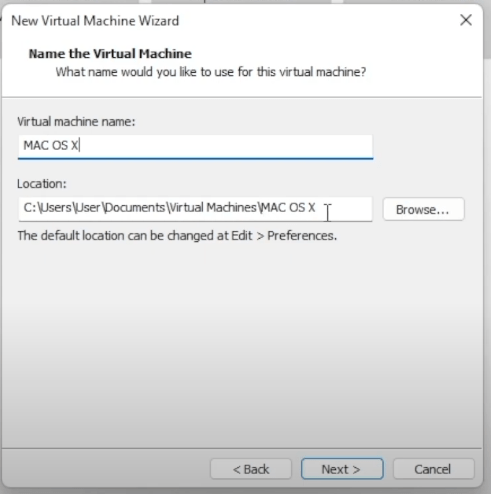
Type any name you want and choose a location where to save your virtual machine.
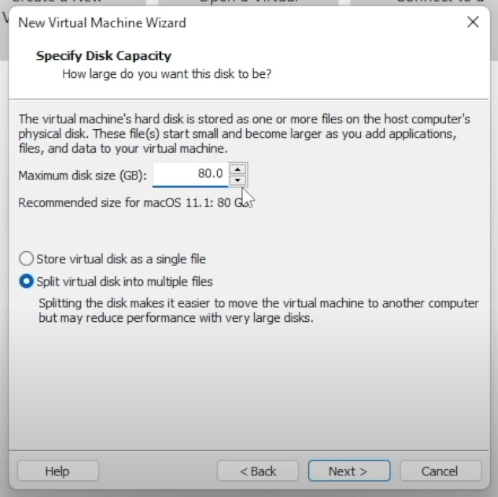
Then choose the storage you want, it is recommended to choose up to 80 GB of storage for macOS operating system.
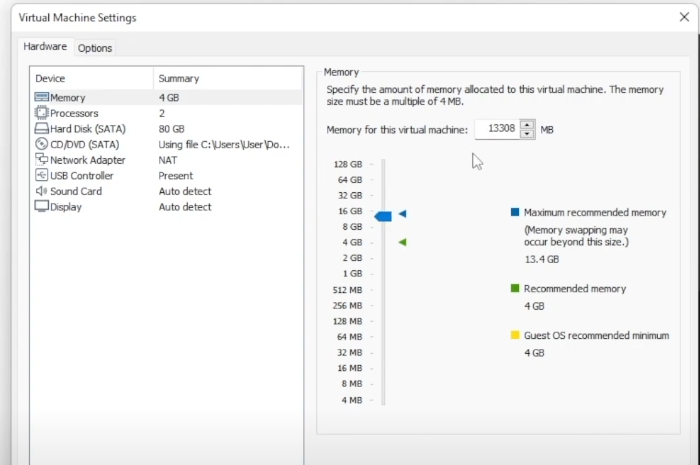
After that, the virtual machine will be created but we need to edit some other settings. You have to open the virtual machine settings and in the first category, you have to choose how much RAM you want for your macOS. I recommend choosing as much as you can up to 8 GB is needed:
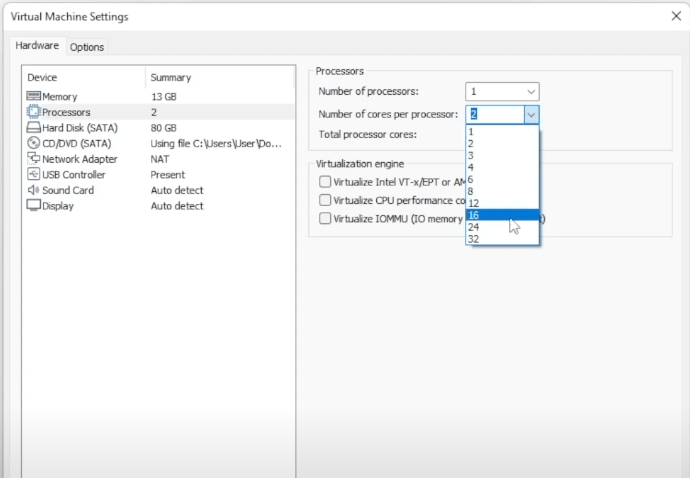
Then you have to go to processors and set the number of cores you want, choose as many as you can, I will set 12 cores for my virtual machine:
Now close the virtual machine settings and we are going to run it.
4. Install macOS in Virtual Machine
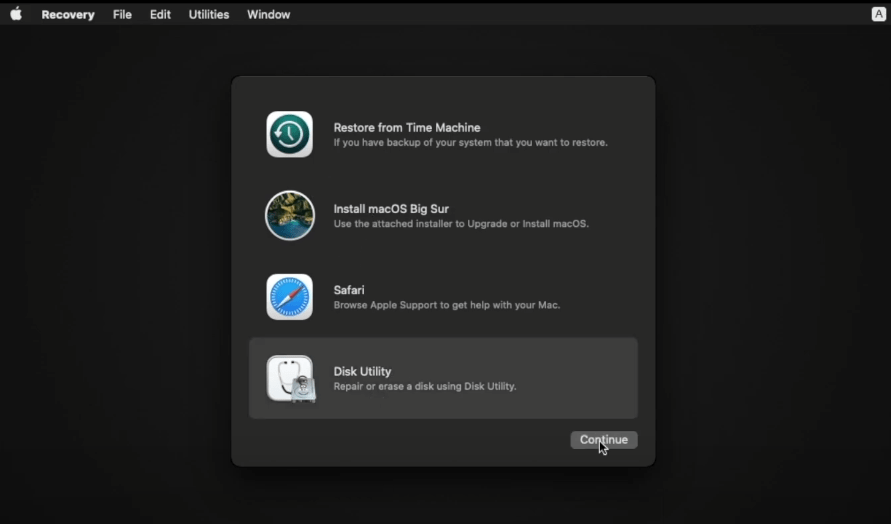
Now that we created our virtual machine we just have to run it. To run your VM press the green triangle icon, and macOS will start immediately. It will ask you for the language and you can choose English or any other language. Then you have to go to disc utility because we have to format our disc:
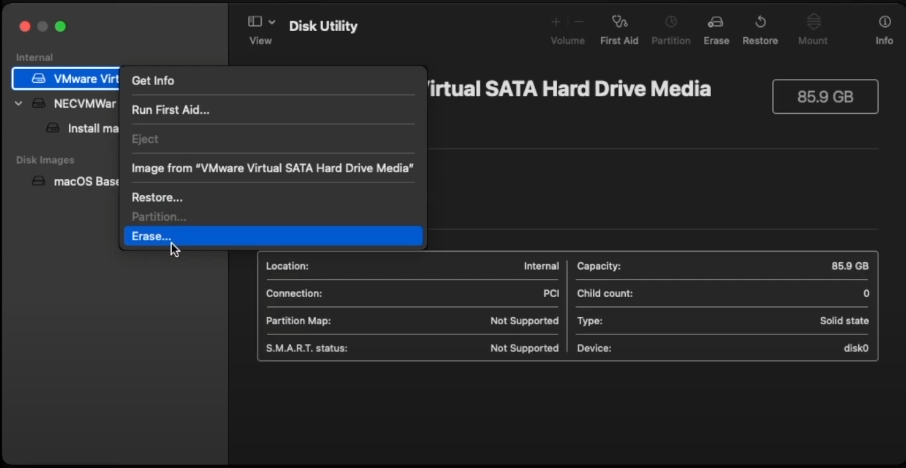
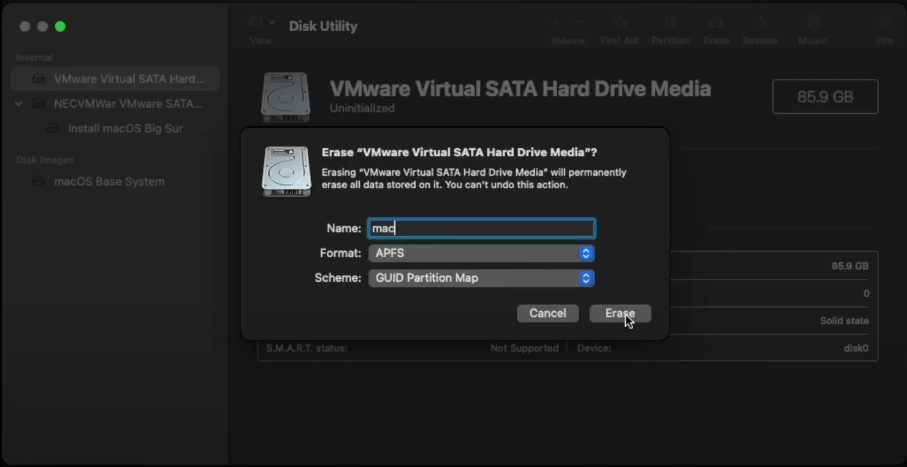
Now here you have to right-click on the VMware Virtual Disc and you have to erase this disc:
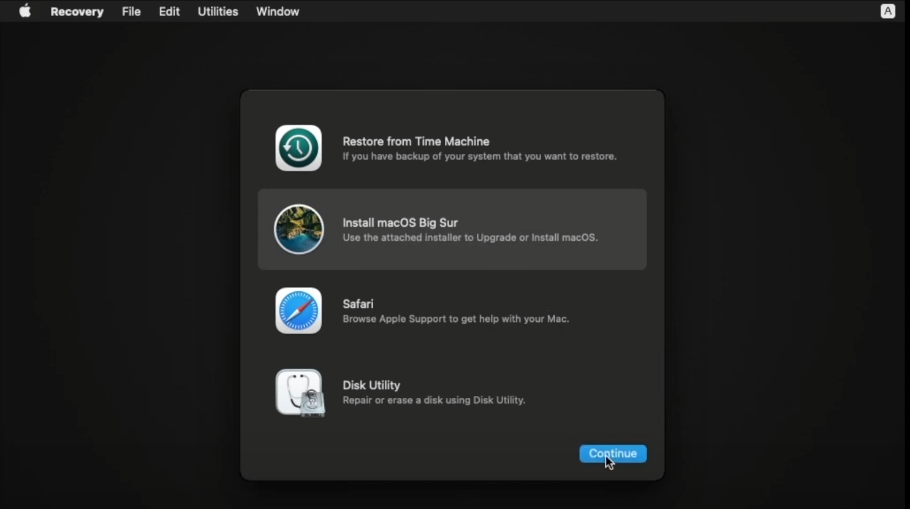
Now finally, we can install macOS. Just choose the Install macOS option and click continue then click on our disk that we just formatted.
5. Finalize the installation
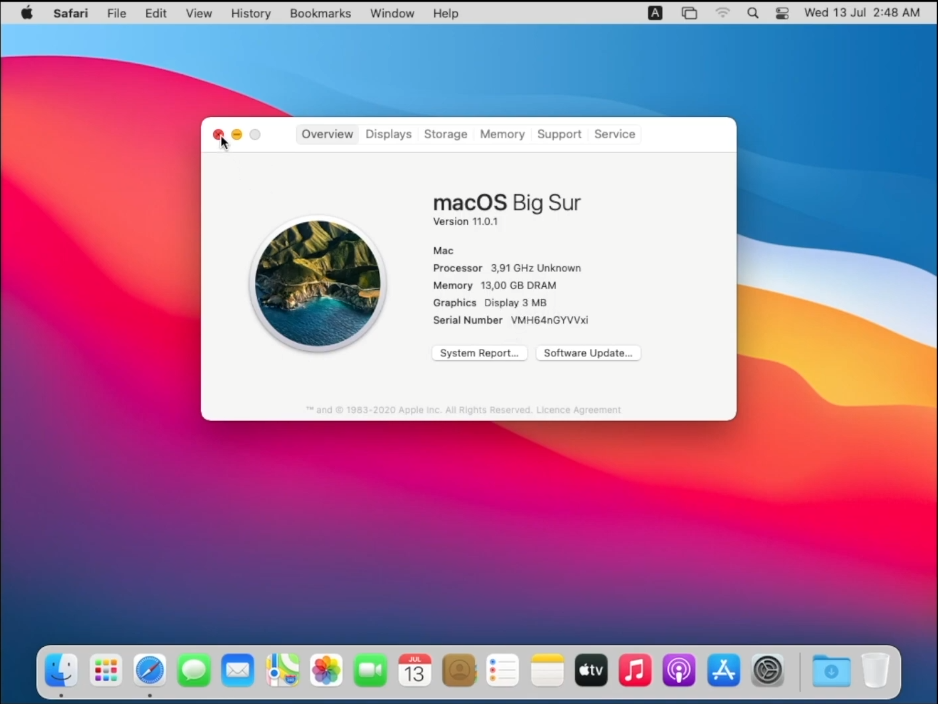
After macOS is installed you have to go through first time set up steps. Just choose your language, keyboard, put your apple id, choose your theme, and make to accept all privacy and license terms.
If you face any issue during installation please comment below or watch my video on youtube –> https://youtu.be/0PUs5KD30s8
Thank you ❤️